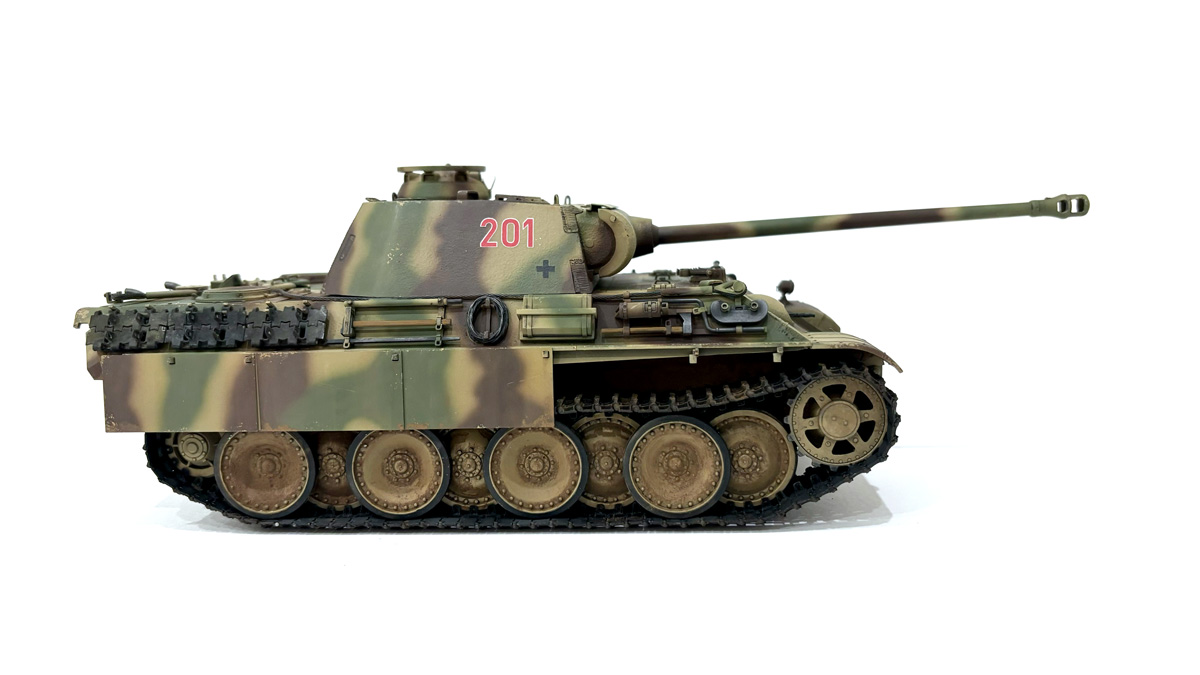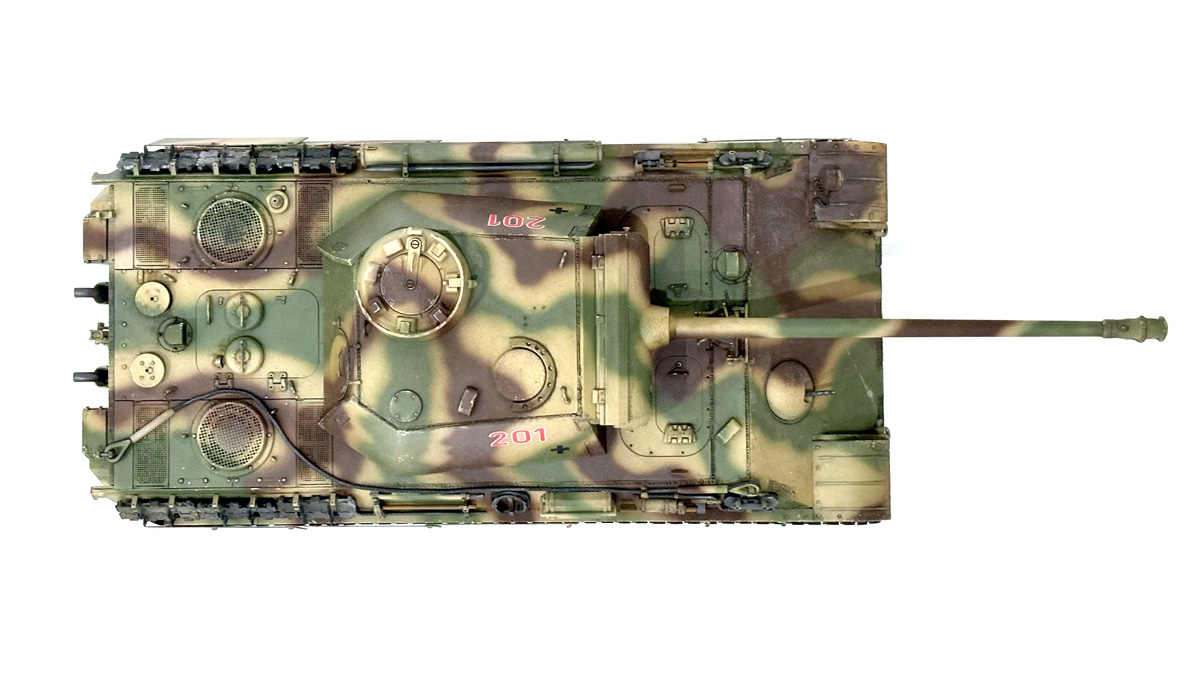
The build process
The Kit
I picked up this kit during my first visit to Scale Model World in 2022. I can't remember why I picked the kit in the end. I tend to agonise over what to buy. I think I was pursuaded to hurry up and pick something by my Dad who was likely flagging after being dragged around each trader at least 3 times.
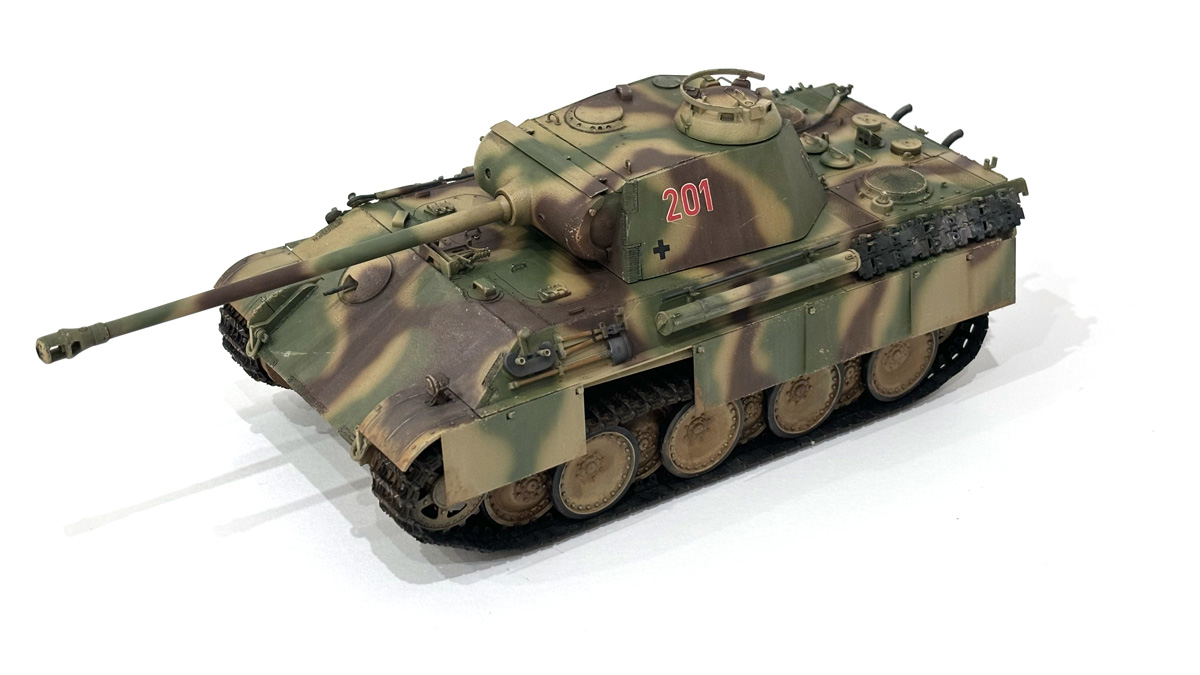
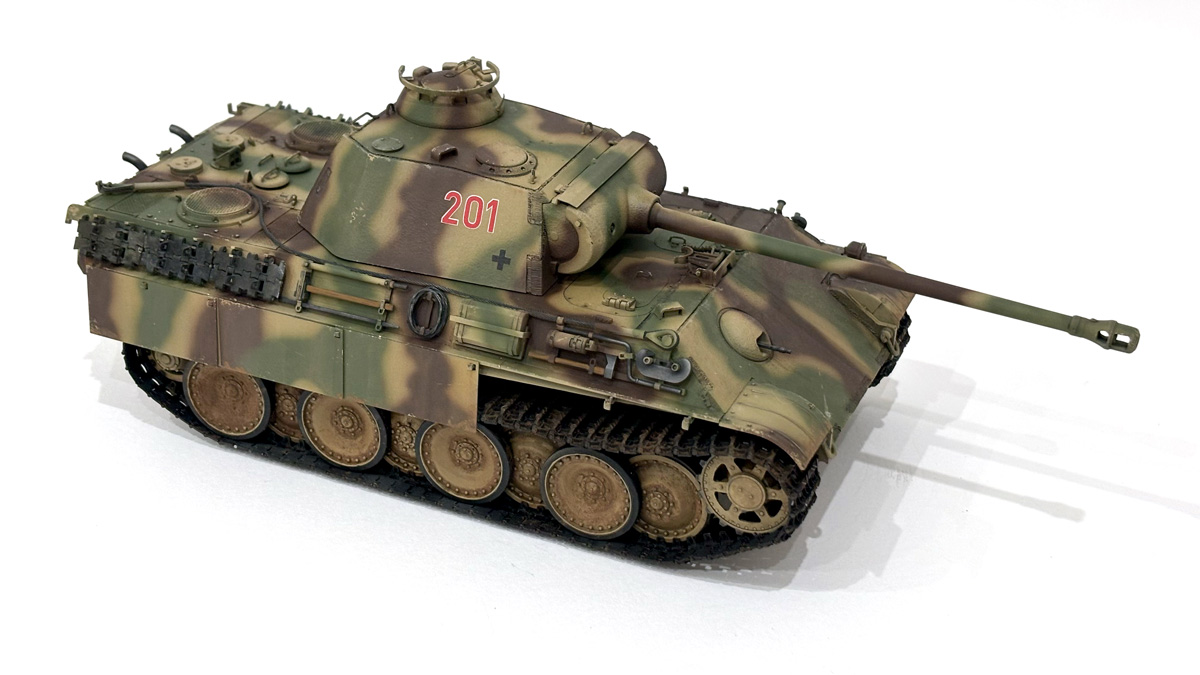
Anyway, I ended up with a 1:35 Panther Ausf.G by Meng, and it was a slow build for a few reasons:
- I kept becoming distracted by other models in my stash.
- Daunting build with lots of choices and decisions.
- Inner struggle on whether to attempt zimmerit or not.
After chickening out on my first attempt at zimmerit, the build eventually came together. Instead of zimmerit, I decided to challenge myself by creating a three-color camouflage scheme. My previous tanks had been either German Grey or Olive Green.
The kit was fine for the most part. Quite a bit of photoetch; the cables it came with were a bit rubbish, and the tracks were a pain I quickly gave up on.
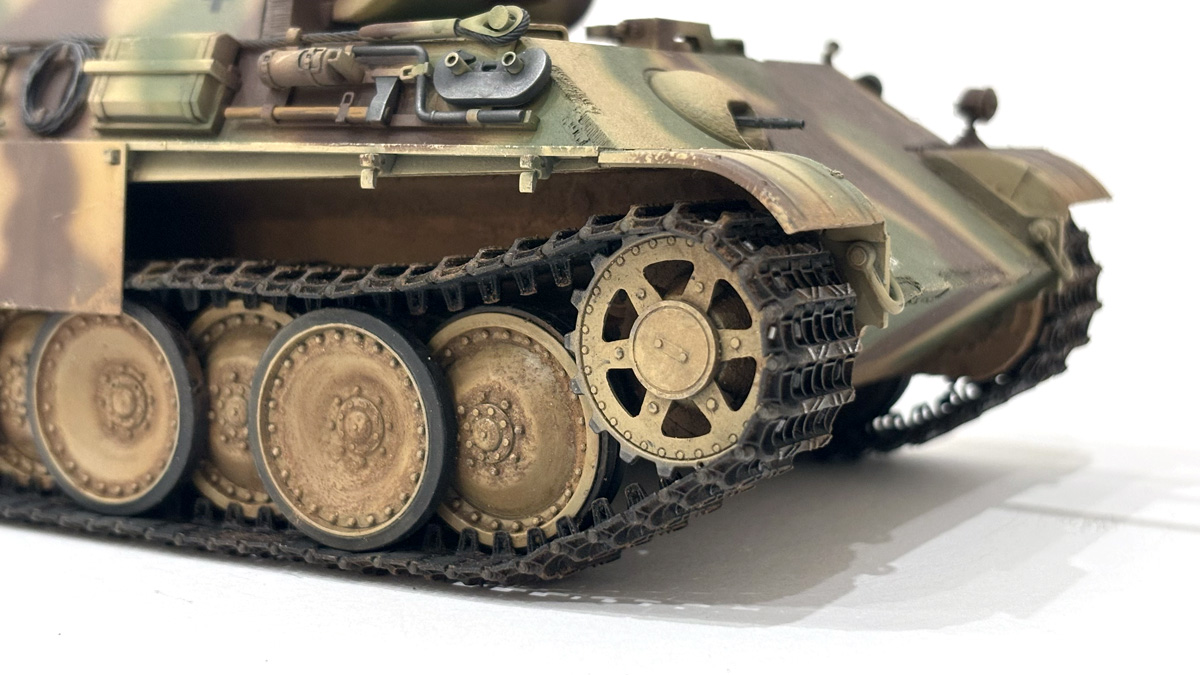
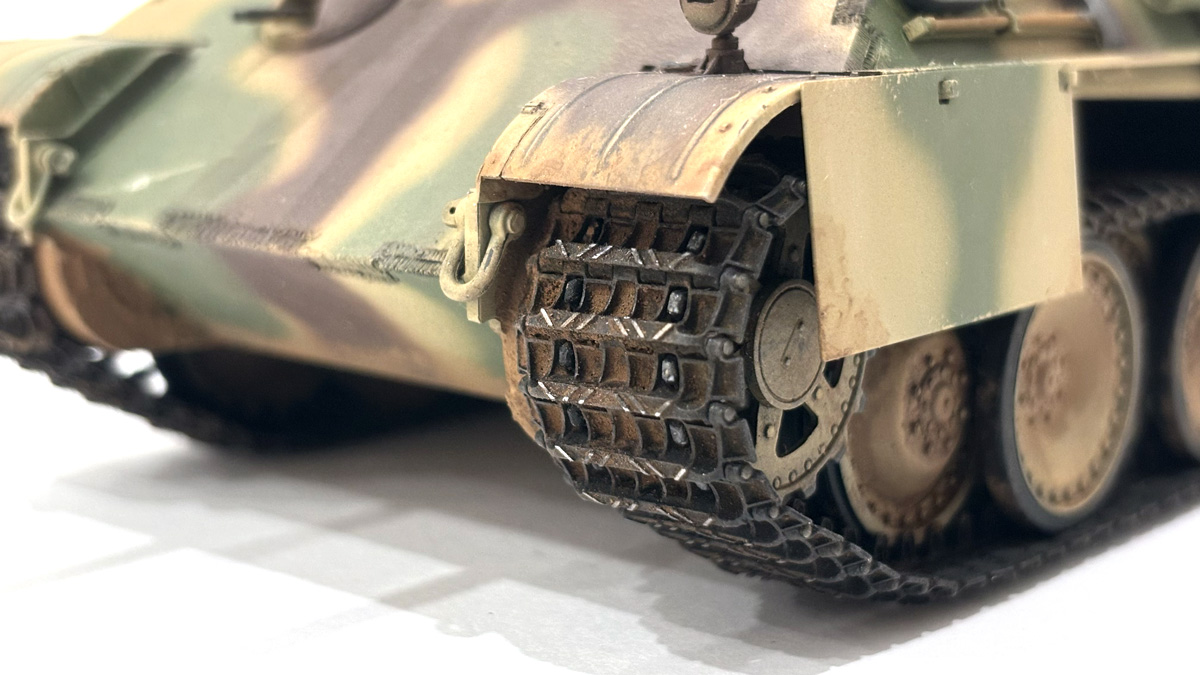
I ended up ditching the tow cable and tracks. I picked up an Eureka XXL copper cable which was fantastic and some MasterClub tracks. I was really happy with the new cable; it could be bent into shape and it would stay that way. I would definitely use one again.
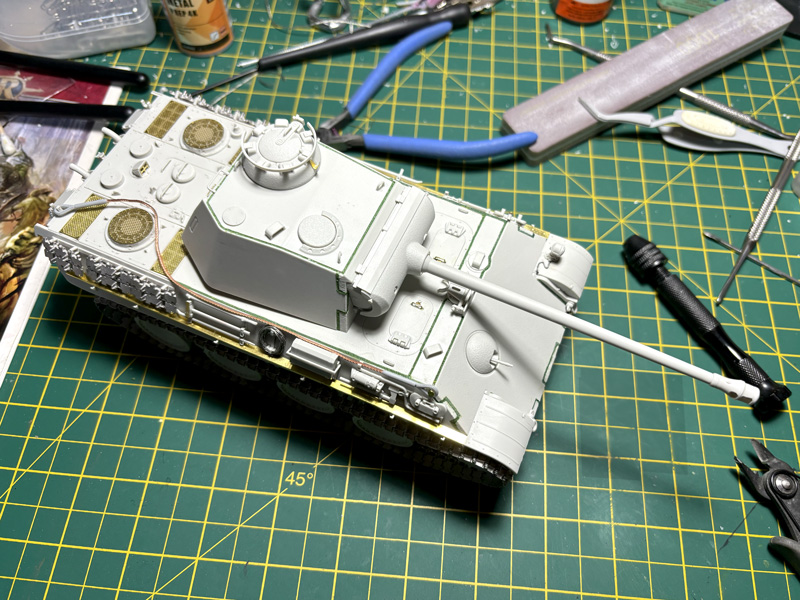
The photoetch that came with the kit worked well. There wasn't anything too fiddly or complex. After assembly, I tweaked the cast textures and weld beads in the usual way and was ready for painting.
The Painting
Priming
After issues with the Sherman's metal barrel and looking at the Panther's metal schürzen I opted to prime the metal parts with VMS Metal Primer. Nothing revolutionary for the rest, the usual prime in black using Mr Surfacer.
Camouflage
I did decide to practice some camouflage on a small 1:72 scale Jagdpanther from Vespid and I'm glad I did. During my practice run I tried using some masking putty, while the putty performed well I wasn't really happy with the finish and ended up going back over with no masking and feathering the edges a bit.

Back onto the Panther. I put down a solid coat of Dunkelgelb from AK Real colours and using a scheme from the manual as a basis I slowly laid down the first part of the pattern in Olivgrun (again AK real colours).
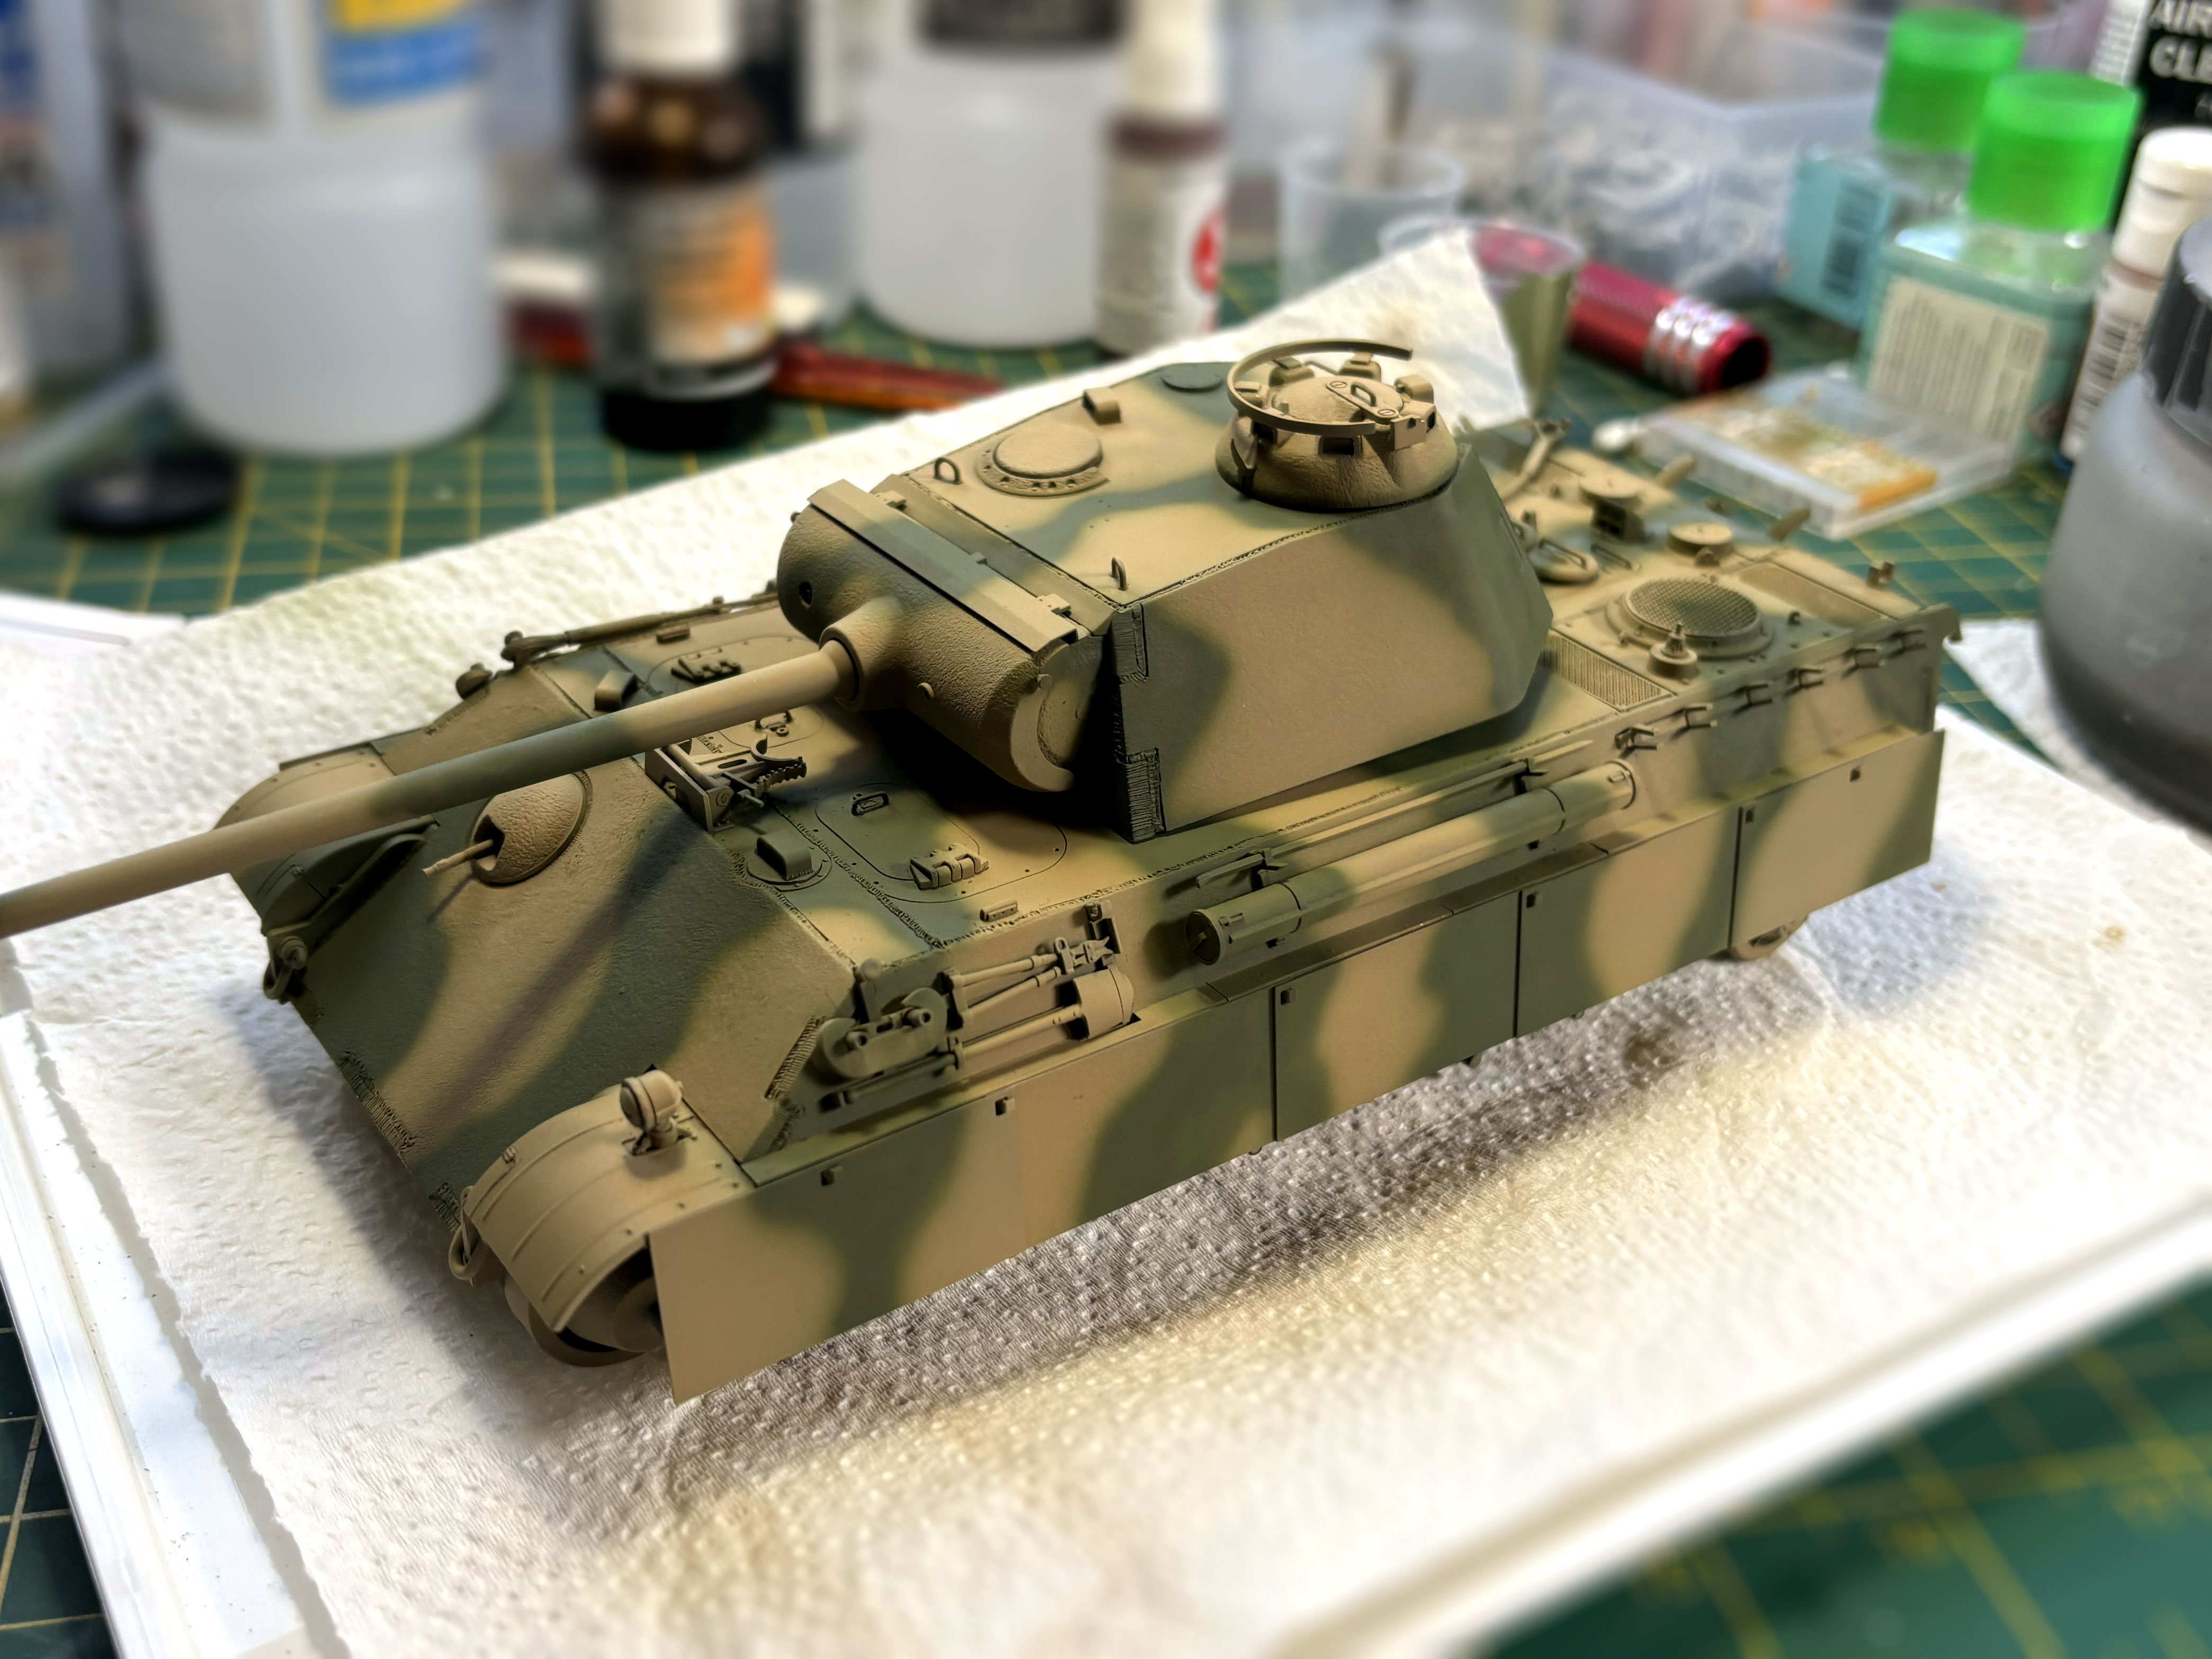
Sticking with AK I finished the pattern with some Rotbraun and a quick tidy with the previous two colours.
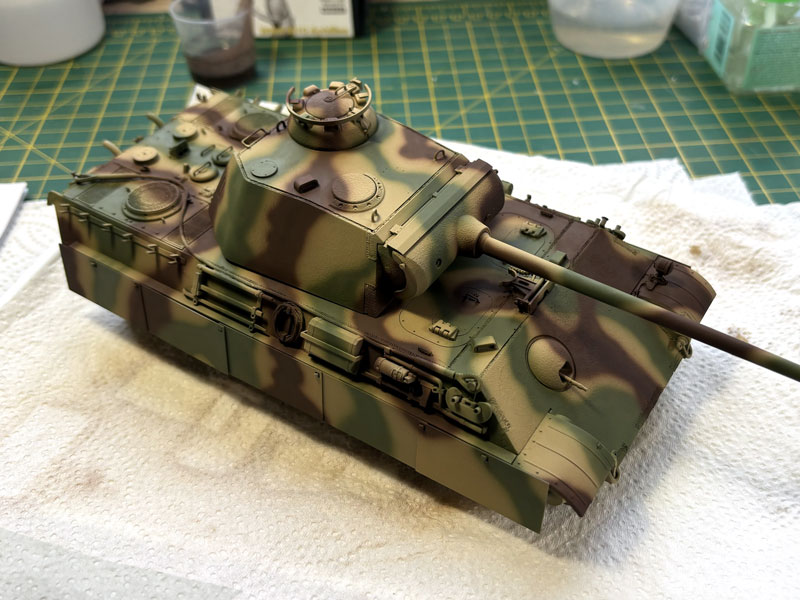
Next, one of my favorite parts: detail painting and a pin wash. The tools and accessories were painted with various acrylics and the metallic parts had some graphite powder added to help give them a subtle shine/highlight.

Oils are now my go to for washes. In this case an dark brown pin wash was added to help accentuate the small details (panels, welds, rivets and bolts).
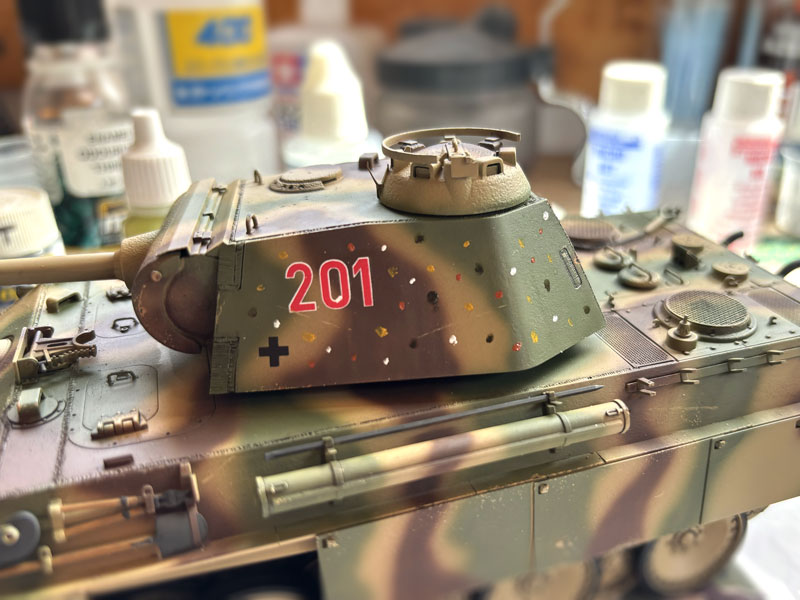
Paint chips were applied with a sponge for the first pass with a lighter dark yellow (seems odd to say that!) and then detailed with a dark grey for deeper chips using a brush. I've gone a bit light touch with the chips, I'm always a bit worried about over doing it.
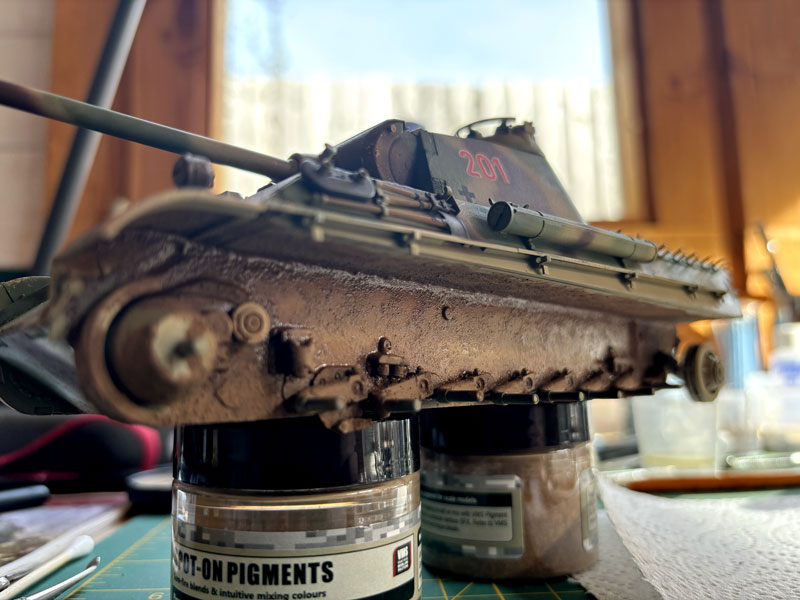
Finally some mud effects were added. I used the same pigments and process as I did for the Sherman.
Final Images
