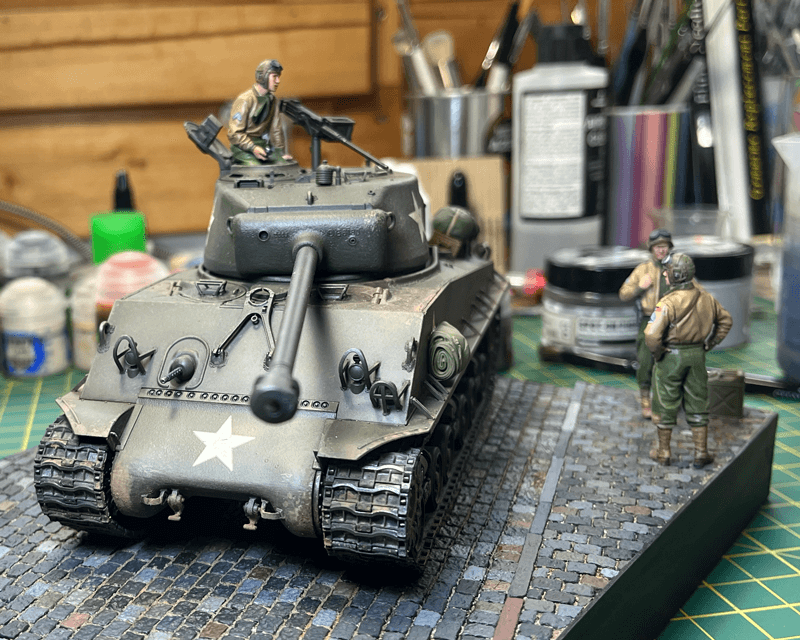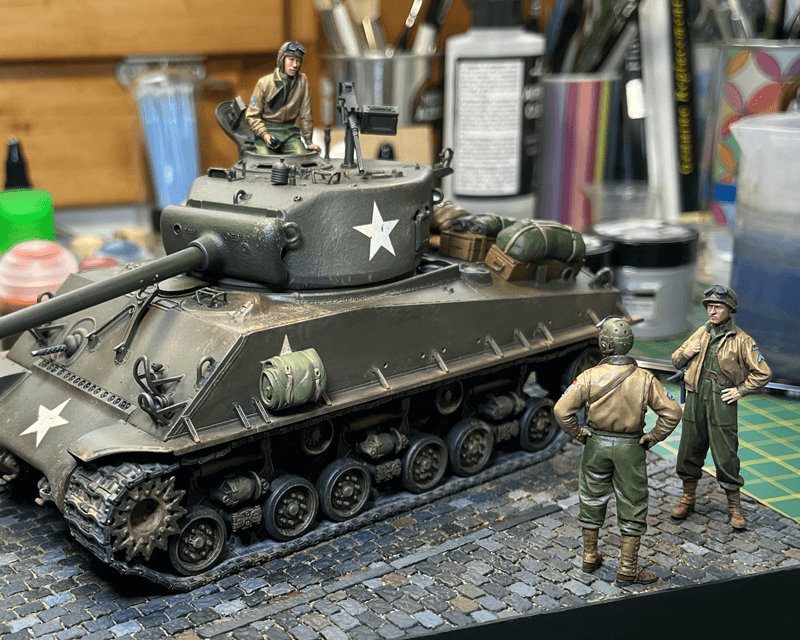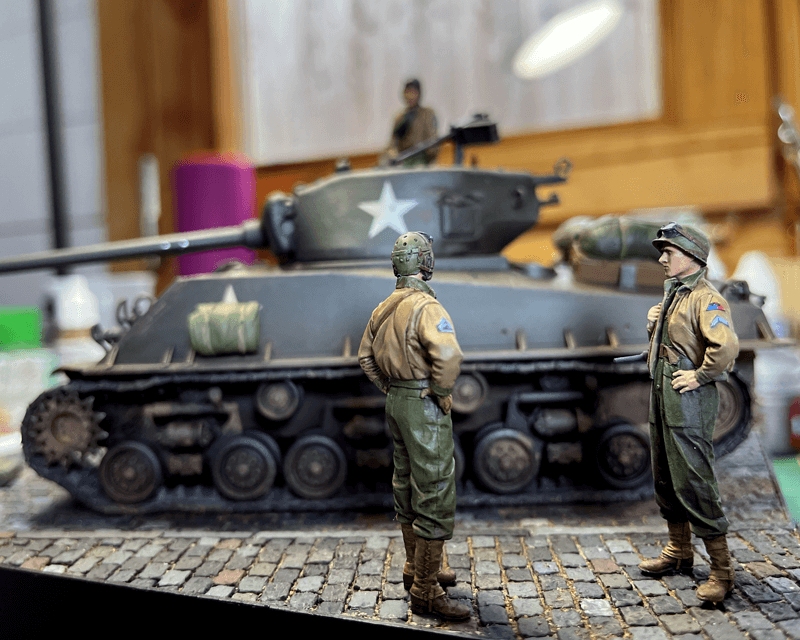
After completing the Tiger I, I thought it would be a good idea to have a go at some Allied armour next. Some sort of Sherman felt like the obvious choice and I had recently watched the movie Fury so why not an 'Easy Eight'?
Here I document the build process from start to finish. You can skip this to view the final images if you want.
The build process
The kit
The kit was the 1:35 Tamiya from 2015 with some Fruimodel metal tracks and a Aber metal gun barrel.
Like the Tiger the kit went together no problem. I made some light modifications:
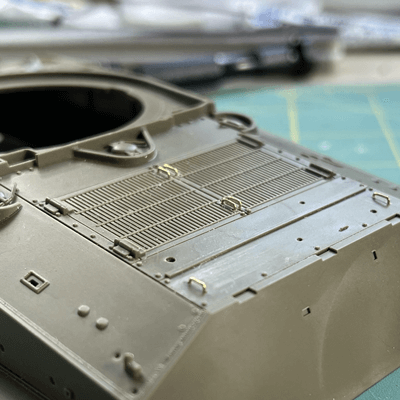
- The grab handles on hatches were improved with wire.
- Milliput was used to add some weld beads around some areas.
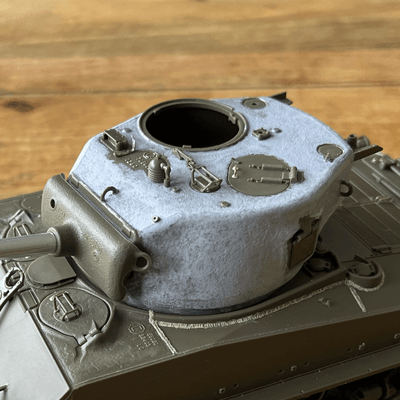
- The turret was textured with some plastic cement and Mr Surfacer putty.
I was really happy with the metal tracks, like last time, they went together no problem and give the tank some nice weight and easily burnished.
The kit was primed with Black Mr Surfacer primer through my airbrush and painted with Tamiya XF-62 Olive Drab. I used a little bit of Dark Yellow to lighten some of the areas.
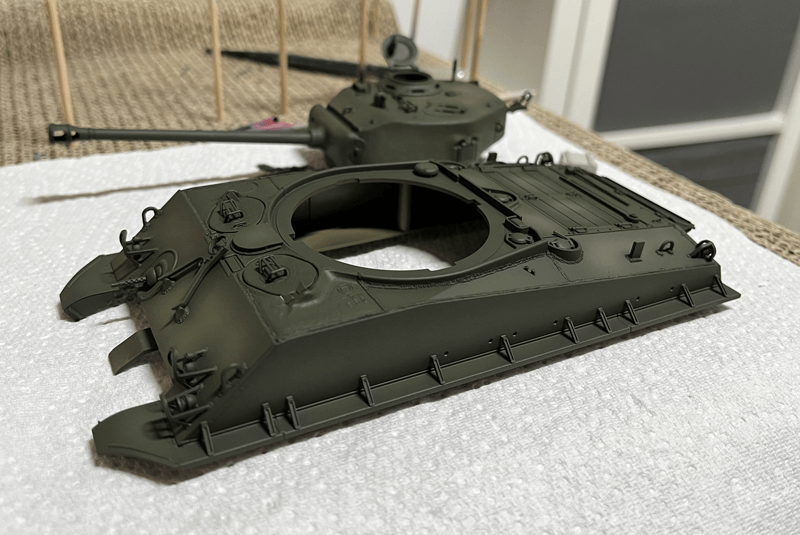
Stock decals were added sealed and a bit of light chipping was hand-painted onto edges and raised areas.
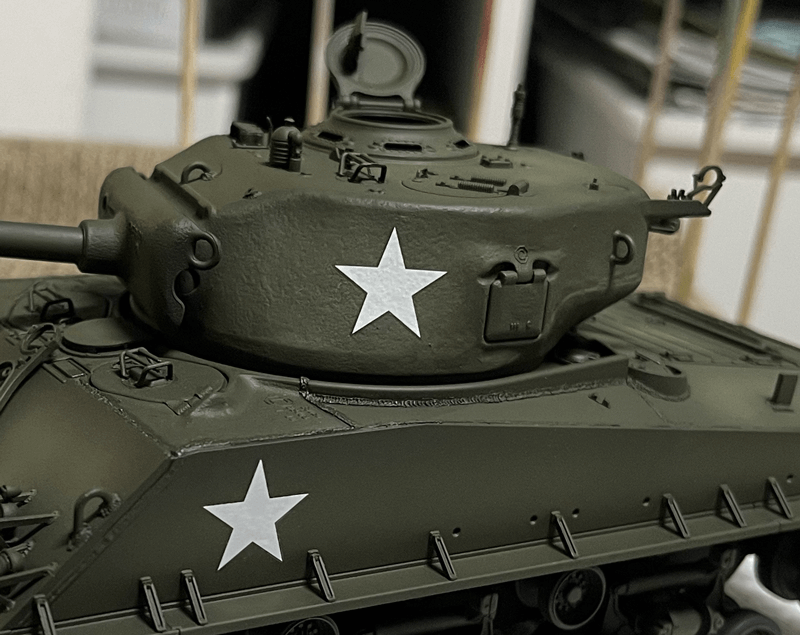
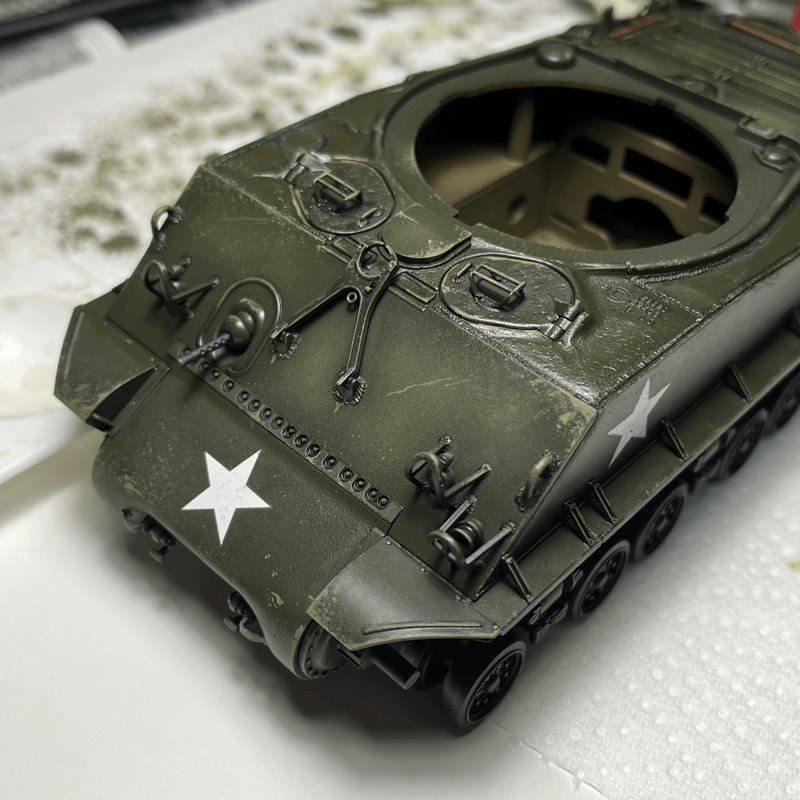
Finally a dark brown oil wash was added, the model varnished and I was ready to add the mud effects.
Mud, mud, glorious mud
This time for mud I gave VMS products a try. Using their pigments, weathering carrier, binders and a hairdryer I set to work.
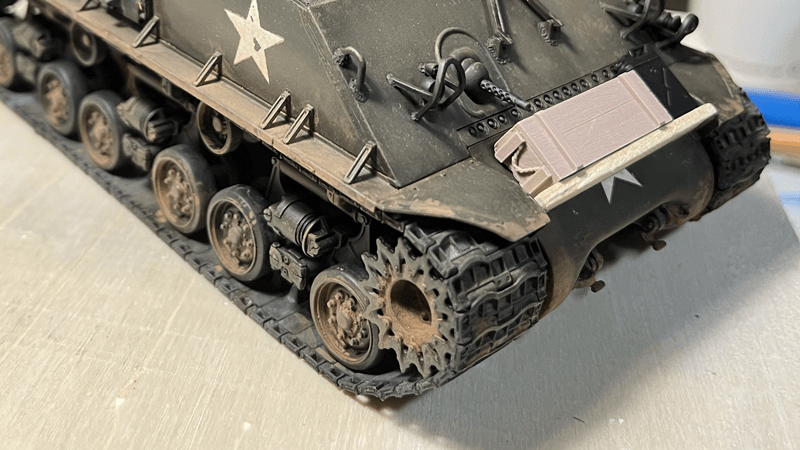
I'm broadly happy with the outcome, though at the time I was not, hence the lack of photos. It was a slow process as I found myself adding a lot and then removing a lot, slowly building up layers until I was either, happy or just fed up, I can't remember which!
Pushing myself
Part one: Stowage
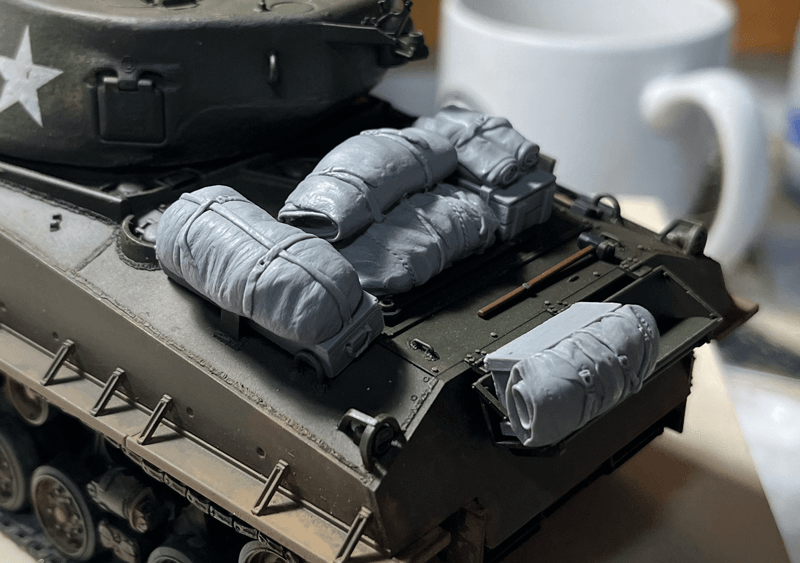
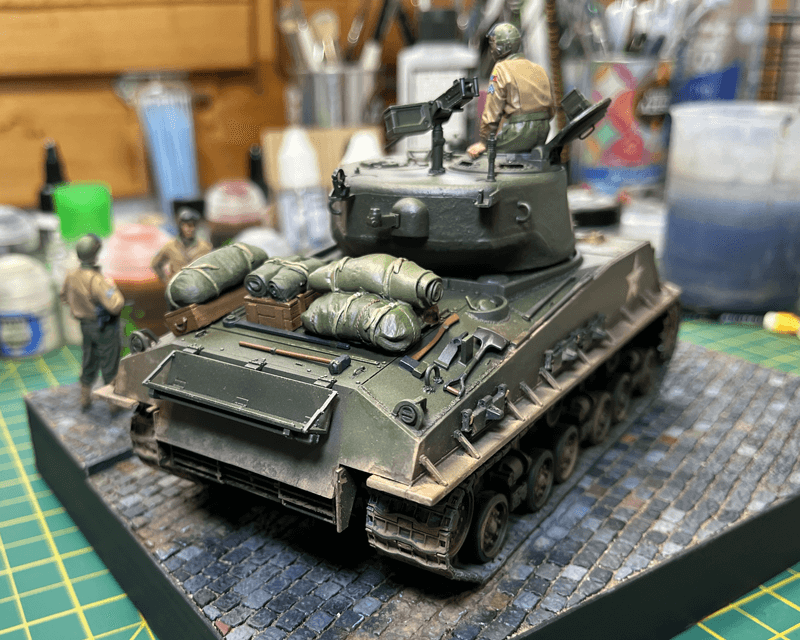
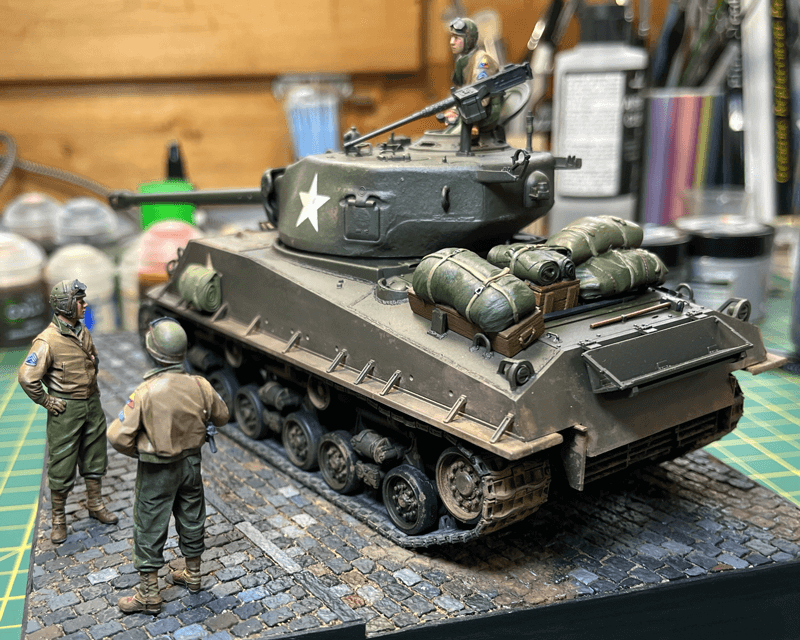
For this build I wanted to push myself a bit more and part one of that is by adding stowage. I really like seeing armour ladened with stowage and really wanted to load this thing up.
I'm not completely happy with the result here, I like the resin parts but I feel like the arrangement and integration could be improved. I was perhaps a bit too late in adding the stowage which caused me to be hesitant in placing items for fear of ruining the paint job on the model.
Next time I'll be intergrating the stowage prior to the priming so that it can be painted and weathered at the same time.
Part two: A base
My Tiger is still currently resting on a cutoff from an old IKEA desk. To save the Sherman from the same fate I thought about making some sort of base.
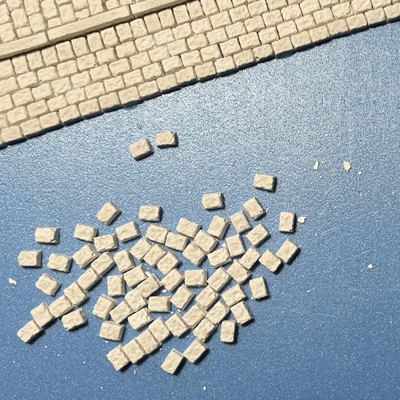
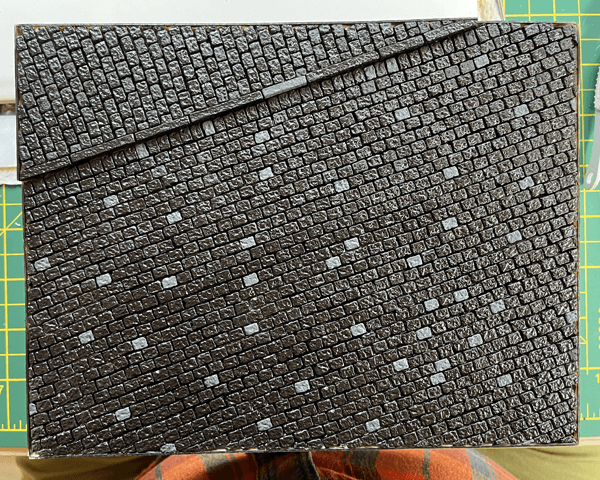
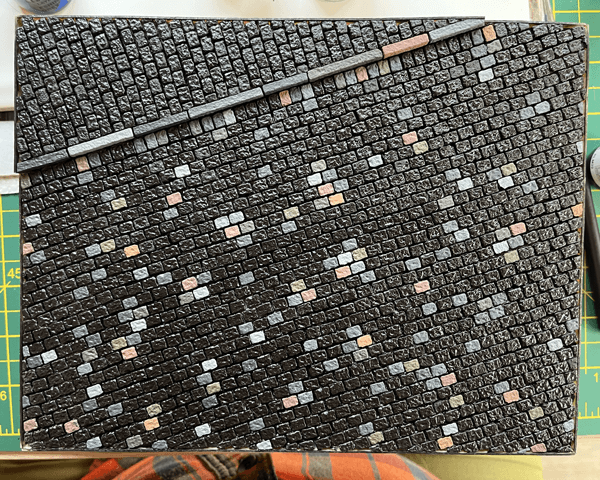
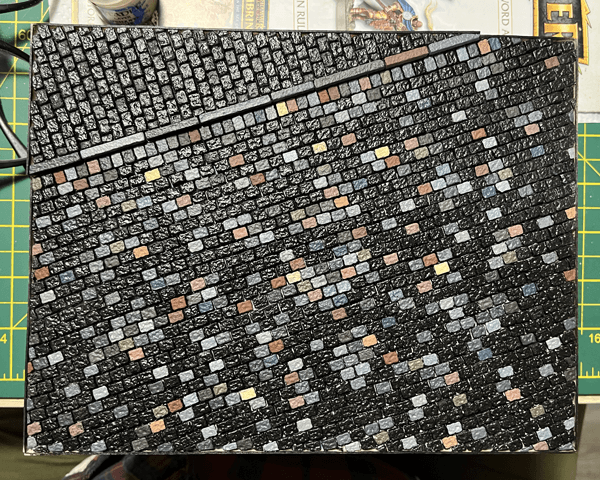
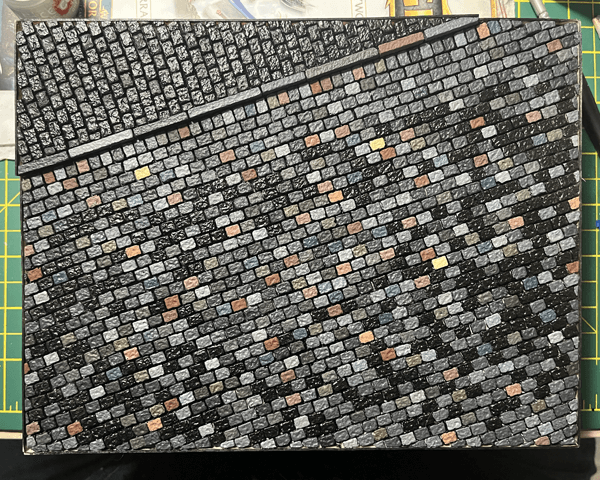
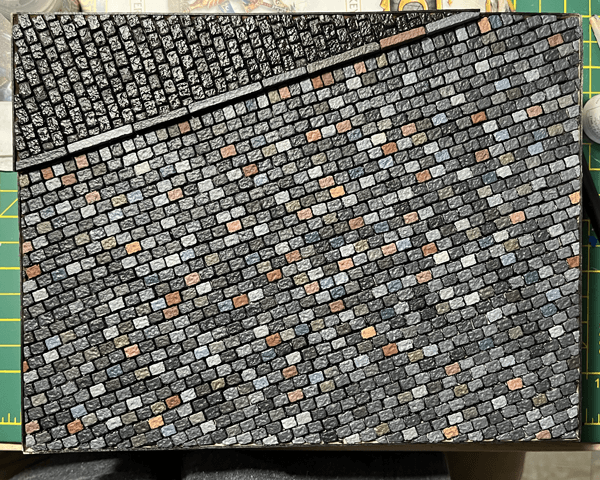
I had been watching some videos by @135scaledioramabuilds9 on YouTube and was fascinated by some of the builds that use plaster cast bricks. I bought a couple of moulds, one for cobbles and another for curbs and set off casting.
The casting process was long and the ad-hoc method I was using to prevent airbubbles in the moulds was not completely successful. Without a vibrating plate I took to balancing the moulds on my aircompressor while it was running to help rattle out any bubbles.
The process was fraught with danger and a couple of facedown moulds on my shed floor was inevitable.
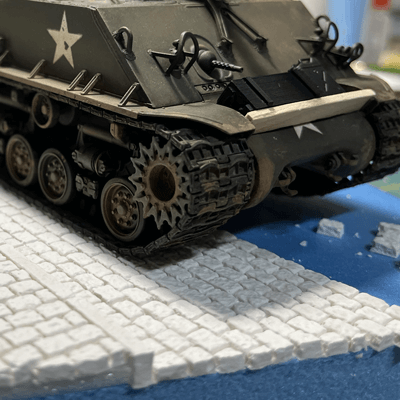
After deciding on a very simple layout for the cobbles I got to work laying them. Next time I do something similar I'll probably consider the follwing:
- Lower the gutter bricks a little bit.
- Add a drain for some more visual interest.
- Add some broken cobbles or even partially 'blow up' part of the street.
Now onto the painting. Oh boy was this a few nights of tediously painting different shades greys of grey, browns and pinks. Though I think totally worth it in the end. I'm really happy with the distribution of the colours.
Grouting the road was straightforward enough, I collected some soil from my garden, dried it off and sieved it a few times. Then with a large soft brush gentle encouraged it into the gaps before fixing with a VMS ballast freeze.
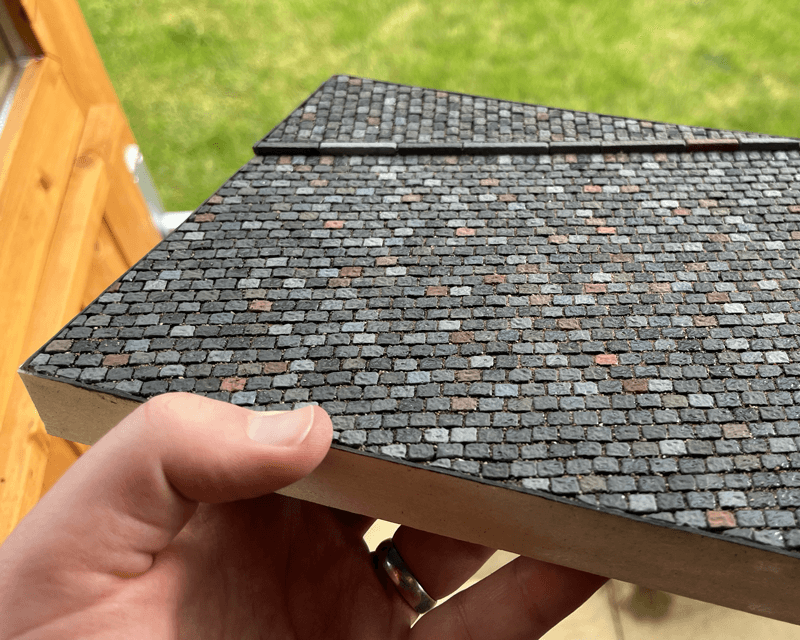
Finally I used some acrylic washes through paranoia that anything agressive might seep through and eat a hole in the foam beneath.
Figures
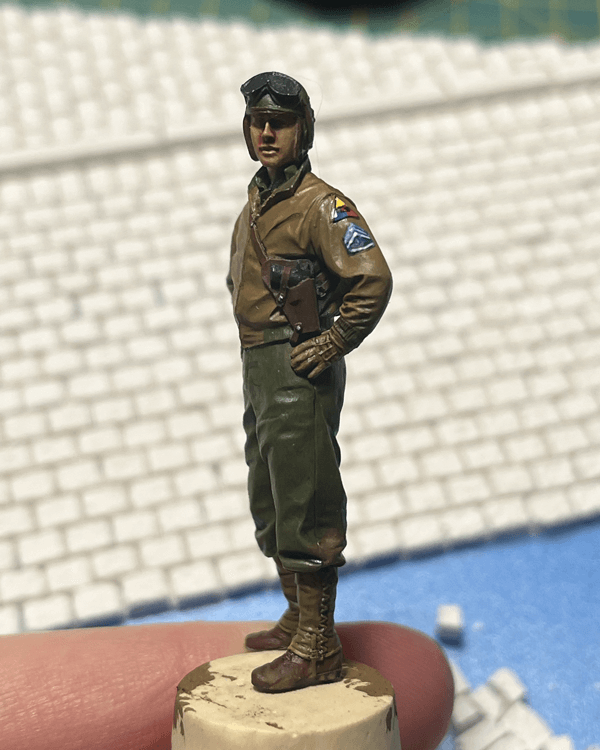
Figures were added to the scene. These are a tank crew from Alpine miniatures and were painted alongside the tank. These were then pinned to the base and seated in the turret.
